How to Fix a Broken Fishing Rod Tip: Ultimate Guide for Beginners
How to fix a broken fishing rod tip with our step-by-step guide. Learn how to repair, replace, and restore your rod for smooth, reliable casting.
One of the most common issues that will spoil a trip is a broken tip of a fishing rod that is not repaired correctly. Fixing it will save the money and will help increase the life of your rod. A broken tip can be repaired in a few minutes with the help of the correct tools and methods, be it a clean cut or an area of the guide which is damaged, and you can be fishing again with a lot of confidence.
It is important to examine the damage you have on your fishing rod before beginning a repair. Identify whether the tip has been cracked, broken or bent. Replacement parts can be used to fix some breaks and minor cracks reinforced. The rod material, e.g. fiberglass or graphite, will allow you to select the correct adhesives, as well as guides so that your repair can be durable and last a long time.
Gather Tools and Materials
In order to mend a broken tip of a rod, prepare all the tools and materials. A replacement tip or guide, super glue or epoxy, a small drill or needle and masking tape will be required. The availability of these tools will offer an accurate repair with few mistakes. One is also advised to work in a clean environment and use safety gloves to protect oneself.
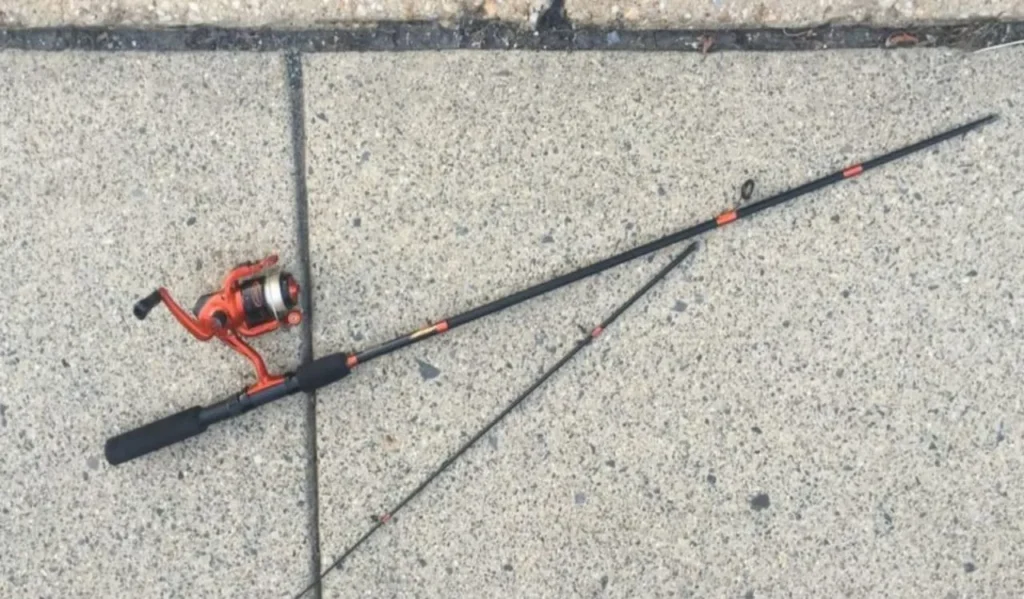
It is important to find the correct replacement tip to your rod. Record the initial tip diameter and type of guide to make sure that it matches properly. The wrong tip may produce a difference in casting, line flow and sensitivity. Choosing the right tip of your material and power rating rod will make it work like new when it comes out of the repair.
Must-Read Guide for Top Picks of Best Fishing Reels
Remove the Broken Tip
Trim the broken end of the rod carefully so as not to cause any more damage. Flatten any coarse spots with a sandpaper or a small file in order to make it ready to be glued. When the old guide is adhesive, then heat it to loosen it so that it can be removed easily. Replacement tip should be properly prepared to fit in and perform well.
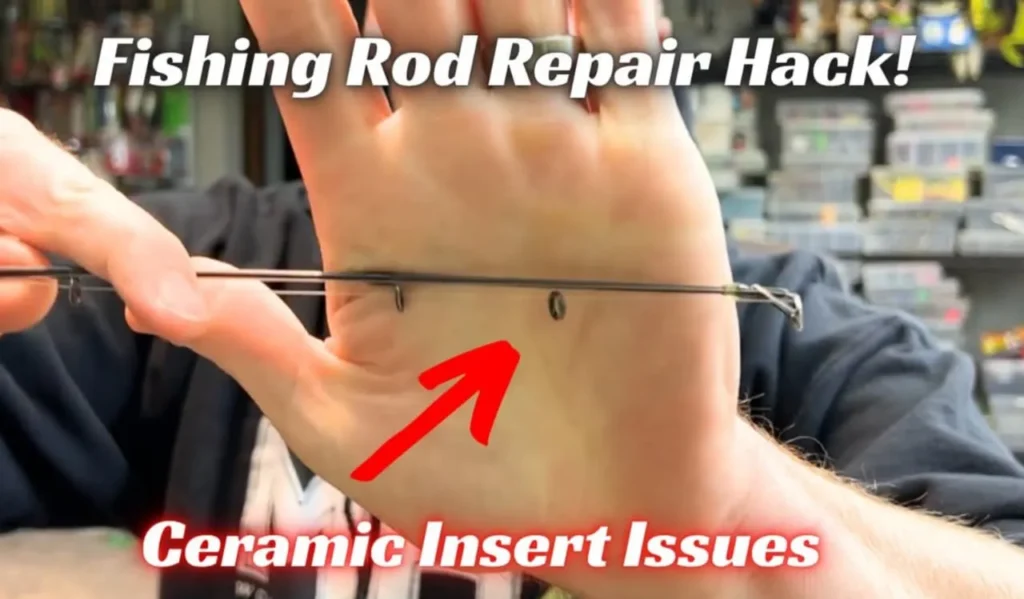
After removing the tip, check the rod blank, splinter or crack. Wipe and scrub the surface to a smooth surface on which adhesive can be applied. A well shaped clean surface is important in ensuring good bonding and lasting repair. This step was taken to avoid weak points that may lead to the tip breaking once more during the use.
Must-Read Guide for Anyone Looking for Top Rods
Attach the Replacement Tip
Something to do is to apply a thin layer of epoxy or super glue on the prepared tip of the rod. Pull the replacement tip over the replacement rod blank and twist it slightly to fit. Clean up with the adhesive and the tip has to be placed in line with the other guides. Good alignment will lead to good flow of lines and casting.
Tape the tip using masking tape as the glue is drying. Allow the adhesive manufacturer to cure the adhesive as recommended to enable the adhesive to be fully strong. One should not use the rod before the glue has completely dried. The tip is well cured to make sure that it does not break or loosen under normal casting and fish-fighting forces.
Different Types of Fishing Reels and How to Use Each Reel
Test the Repaired Rod
Once the rod has cured, first test it with soft pressure then proceed to fully use it. Alignment of check tips, flexibility and flow of lines. Create practice casts, which are small casts, to make sure that the repair does not have any impact on performance. The reason is that through testing, you are guaranteed that you have a safe and functioning rod before you go fishing.
In case the tip is loose or not in place, re-adjust or re-repair it before it is heavily used. Re-testing is also essential particularly in costly or high performance rods. A secure repair will help ensure that your rod will not break down again and your confidence in your rod will also be restored so that you will be able to fish effectively without worrying about your repaired tip.
Different Types of Fishing Rods and How to Use Each Rod
FAQs About How to Fix a Broken Fishing Rod
Final Thoughts
Fixing a broken fishing rod tip is easy with the right tools, patience, and careful attention. Using super glue, epoxy, or replacement guides, the rod can be repaired while maintaining its functionality and longevity. Performing the repair yourself saves money and avoids the wait for a professional. This allows you to get back to fishing quickly with a fully restored rod.
Regularly inspect your rods for cracks or weak tips to prevent breakage. Performing minor repairs and maintenance helps extend the rod’s life and ensures optimal performance. Knowing how to fix basic tip damage increases your confidence in handling your equipment. This preparation keeps your rod ready for any fishing trip, whether in freshwater or saltwater.